SolidWorks Administrative Install Images & SLDIM – Part 1
SolidWorks provides the ability to create administrative install images that can be used to make a CAD administrator’s job much less stressful by allowing quick and easy installation of SolidWorks. There are several benefits to using an administrative image, such as:
- standardizing installations across multiple seats/locations.
- pushing out file locations and/or customizations.
- performing pre- and post-install maintenance or other tasks.
- easily apply service packs.
- ability to quickly and easily roll back to an earlier service pack if there are any problems with a service pack.
The creation of these administrative images used to have to be done through the command line, but the SLDIM provides much more control and better finesse when applying service packs. When you apply a service pack to images created with the command line tools, it only updates the SolidWorks install itself, and any add-ins, such as COSMOS or DWGEditor, will have to manually be patched and rolled out. Using the SLDIM, all SolidWorks packages are updated at once. (Unfortunately, if you are using Active Directory to deploy the image, you will still have to use the command line tools to create your image.)
This article series will focus on using the SolidWorks Installation Manager (SLDIM) to create a SolidWorks Administrative Image that is tied to a SolidWorks Network License server, and using the HTA method of installing SolidWorks. It is fairly straightforward to create the image using the SLDIM, but there are a few gotchas that you need to look out for. This series was also being developed on SolidWorks 2008; but from my testing with the SolidWorks 2009 Beta and PR releases, the information here is valid.
Before you begin, you should make sure that you have exported your settings using the Copy Settings Wizard. At the very least, you should save the System Options. I generally leave it up to the users to save their personalized customizations.
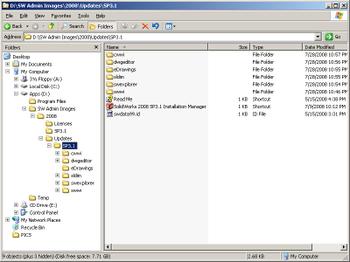
First off, you should create your server directory structure so that it will be easy to manage and remember where everything is located. In the image below, you can see the directory structure I have chosen (located at D:\SW Admin Images\):
The “Licenses” folder is where I have saved my SolidWorks Network License (SNL) file, the “SP3.1” folder is where I am going to create the installation image, and the “Updates\SP3.1” folder is where I am going to download the install files. This is the folder structure that I have found works best for me, but you should do what is easiest for you.
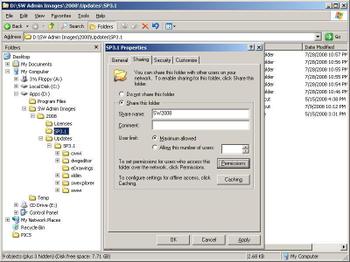
Next, you need to create the share on the server where you will be making the installation image available for your users:
It is important to remember to use a generic share name here, such as “SW2008”, and not “SW2008SP3.1”, as this share name will be used throughout the life of this SolidWorks version. The directory you are sharing will change, but the share name should remain the same!
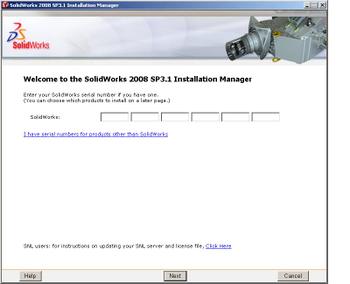
So now, we are ready to run the SLDIM. Enter your serial number(s) on this screen:
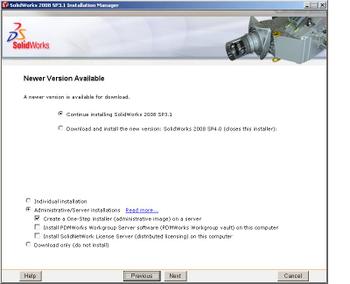
You will get a screen similar to the one shown below. If this was the latest version, it would tell you that you had the latest version, but for this exercise, I am going to continue to install SP3.1.
The important things to note on this page are at the bottom. Check the “Administrative/Server Installations” radio button, and then check the boxes for everything that you wish to install. If you are only creating an image, just check the first box; if you also need to install PDMWorks Workgroup Server or the SNL Server, check those too.
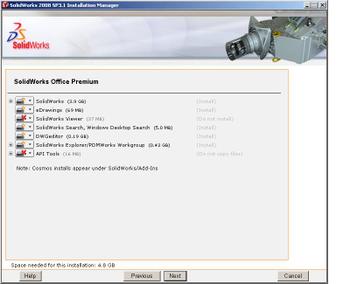
The next page is where you choose what applications and add-ins will be installed with the image:
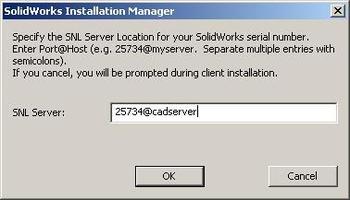
You are then prompted to enter the SNL Server location. The default port number is 25734:
Now it is time to configure your client options. Choose “Use a settings file exported from the Copy Settings Wizard”, and browse to where your swoptions.sldreg file is located. You can also determine if a new installation or upgrade is performed. Personally, I always do a clean install when moving to a new version, but this is up to you.
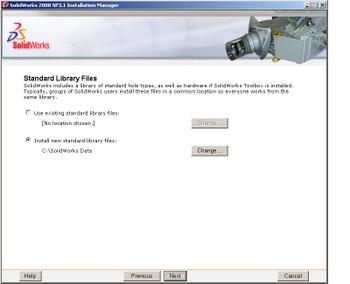
Next, the SLDIM will ask for the location of your Standard Library Files, which is Toolbox and the Hole Wizard. Be very careful what you choose here! If you choose your current location, your files will be upgraded to the newer version, thus making them inaccessible from older versions. If you are creating a test image, be sure to choose a different location for the new files.
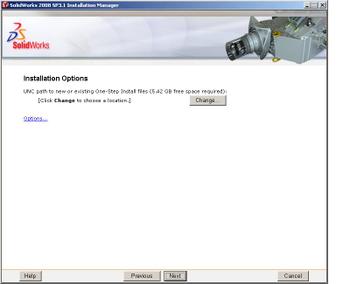
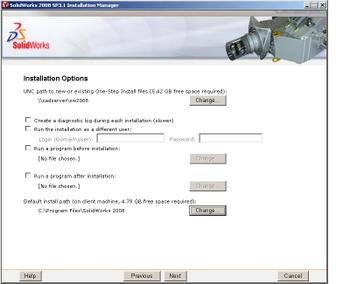
The next screen is where you set your installation options, including the location of the install image, the default client install path, and any pre- or post-install programs you wish to run. The image path is the only required entry and MUST BE IN UNC FORMAT; the others are accessed by clicking the “Options…” link.
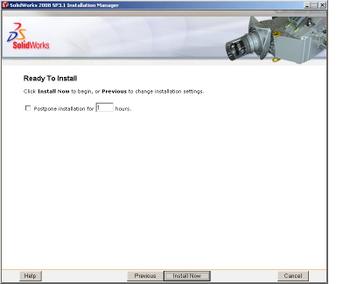
After you click “Next”, you are now ready to start the administrative image creation! You have the option to postpone the installation, so that it can be run after-hours, for example.
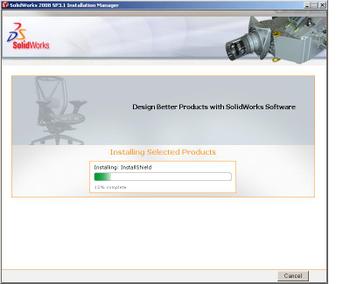
After clicking “Install Now”, you wait…and wait…and wait… (Unless you have a fat connection, Gigabit ethernet, and fast HDD’s that is! The last download AND install I did here took less than 15 minutes total!!! 😉
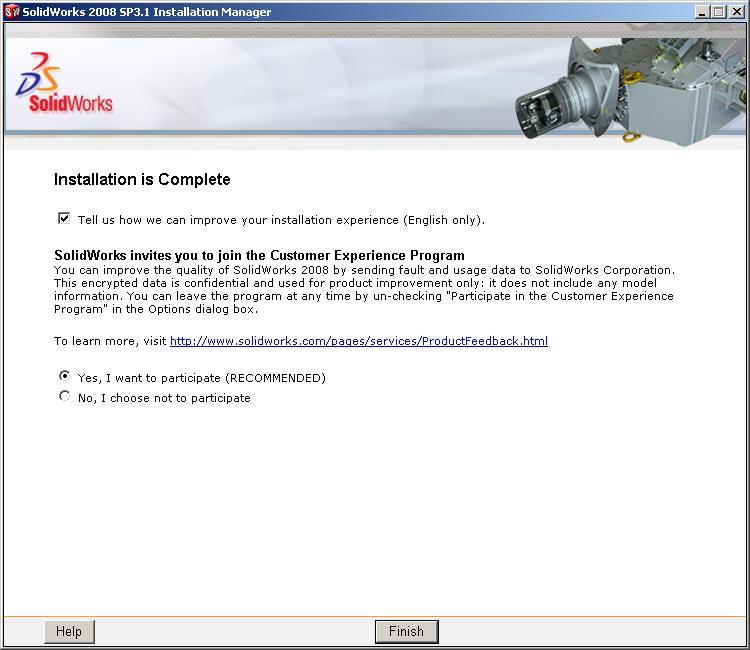
When the download and administrative image is created, you are presented with the window below. If you so choose, you can give SolidWorks comments on your installation experience and also turn on the Customer Experience Program. The feedback SolidWorks gathers from these options will help them tune the software so that we all can have a better SolidWorks experience, so why not participate?
So there you have it, a basic administrative installation image. After the image has been created, you can further customize it by using the sldadminoptioneditor.exe file in the sldim folder located in the image root directory.
Also, be sure to test the image and work all the kinks out before rolling it out to your users. Changes to your install image can be made in the AdminDirector.xml (image options), Activation.xml (activation information), or users.xml (user/group information) files if needed.
It has been my experience that using the SLDIM to create administrative images is a very painless process to keep everyone’s software up to date. It definitely helps when rolling out a new version. Hopefully, this tutorial will help you become more efficient at keeping up to date with the latest releases. If you are new to administrative images, perhaps it has given you some ideas on how to make your job easier by consolidating the installation of SolidWorks into this process.
As always, your comments are welcome! Stay tuned for part 2 of this series, where I will show how to go about creating and applying service packs to your administrative image.


Pingback: SolidWorks Administrative Install Images & SLDIM - Part 1 | CADFanatic()