SolidWorks Administrative Install Images & SLDIM – Part 2
In part 1 of this series, I laid out the steps for creating a SolidWorks administrative image. In this article, I will describe how to apply a service pack to create a new image that will automatically roll out to your users. Again, the SolidWorks version shown in this series is Solidworks 2008, but based on my experience, the procedures for creating a SolidWorks 2009 Administrative Image is similar.
First off, prepare your file folders. In this case, I am upgrading from SolidWorks 2008 Service Pack 3.1 to 4.0. So I will create folders called "SP4.0" under the "2008" and "Updates" folders:
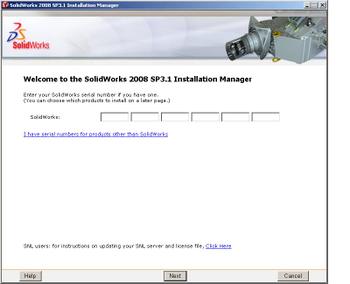
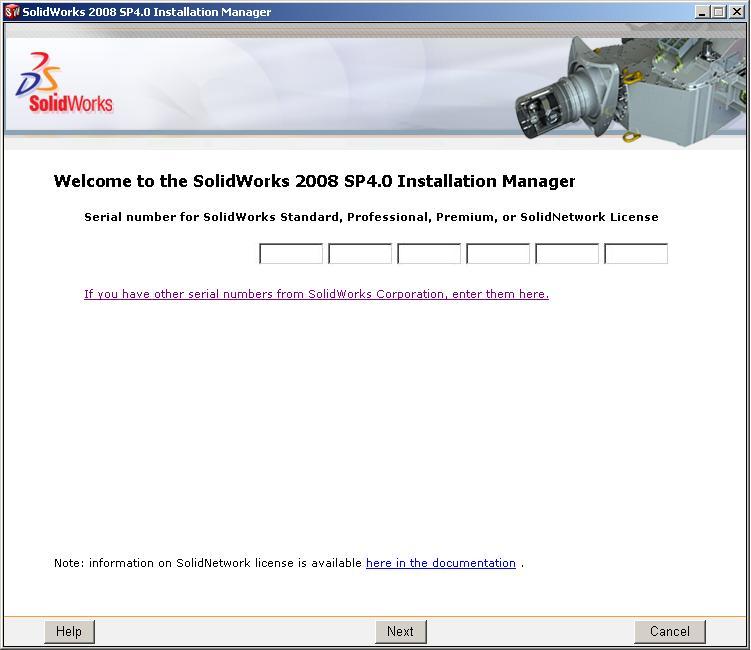
Next, run the SolidWorks Installation Manager (SLDIM) and enter your serial number (it should be filled in automatically):
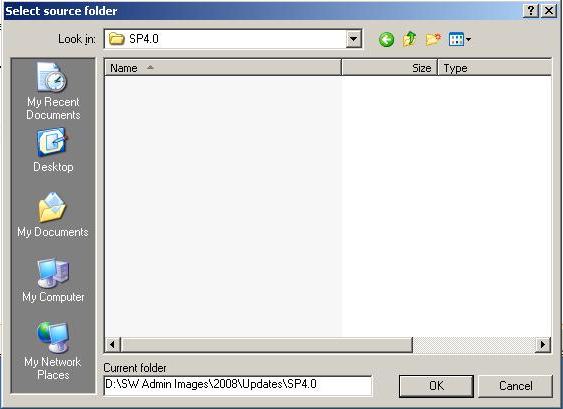
You will be presented with a window telling you that there is a new version available. Choose to download and install the new version. The window will close and you will be prompted for a location to save the new files in. Choose the "…\Updates\SP4.0" folder created earlier:
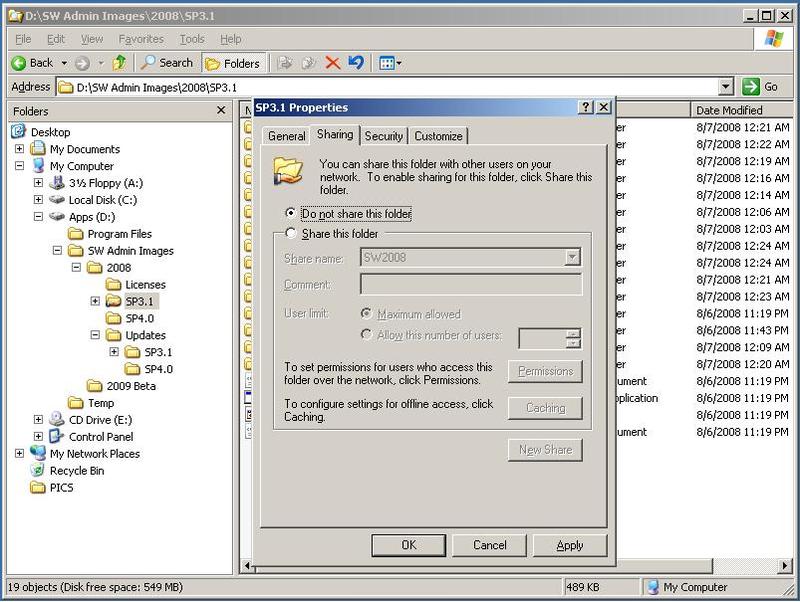
While the new SLDIM files are being downloaded, go ahead and prepare your image folders. Unshare the current image folder, and then share it with another name (i.e., SW2008SPX.X):
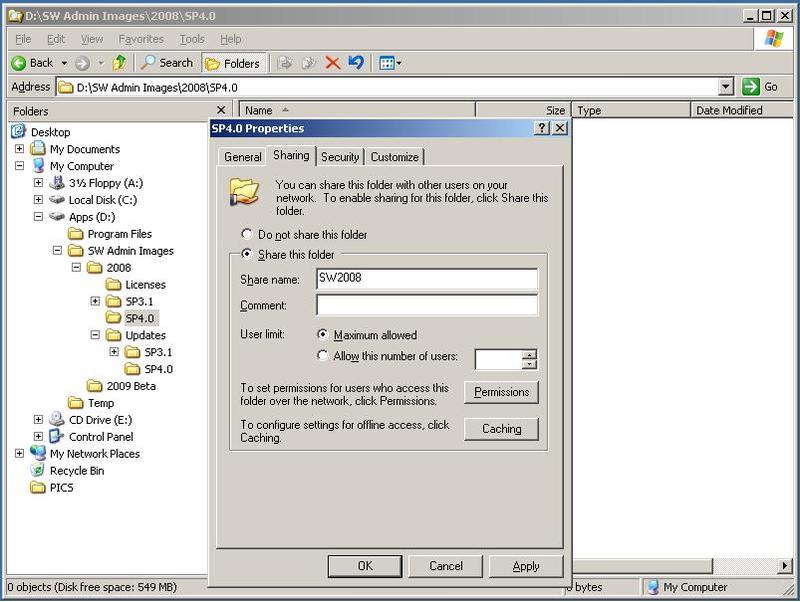
Next, share the SP4.0 folder as whatever you originally used when setting up the first image ("SW2008" in this case). This is important, as your clients will still be looking for this share to check for updates.
You are then prompted for your serial number. Note that the serial number(s) will be filled in automatically if you have already created an administrative image. You can add any new serial numbers you have obtained here, if necessary.
Most of these steps are similar to actually creating the image, as you are in effect creating a new image. We are just going to minimize the download size by using what we can of the previous image.
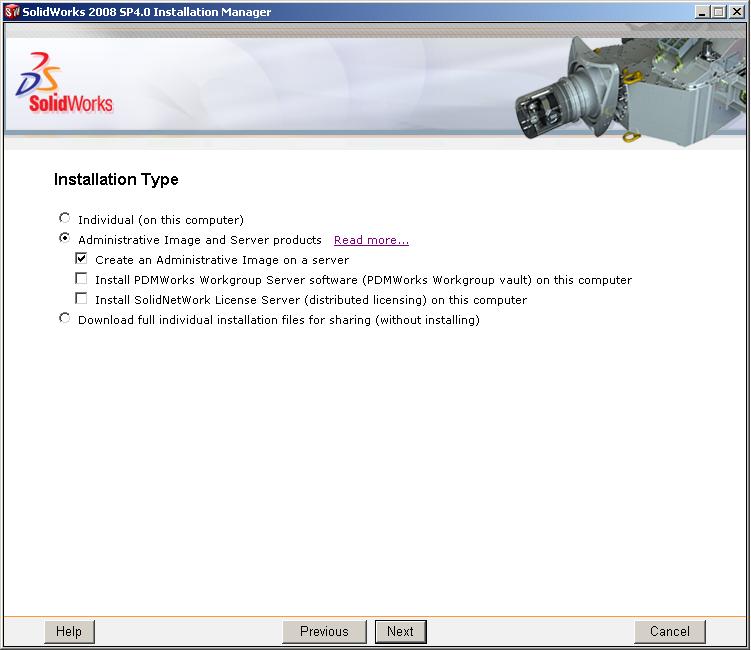
Choose "Create an Administrative Image on a server", and click "Next":
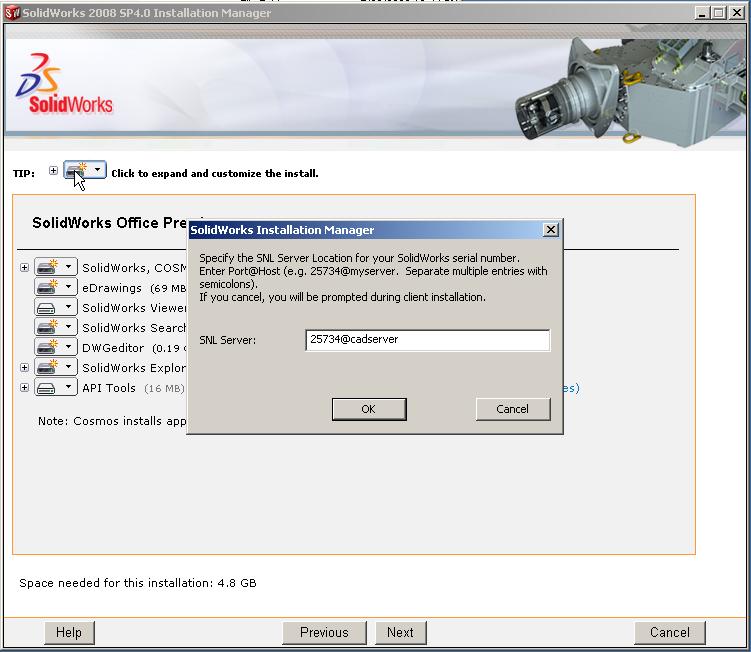
Customize the install as desired. The options from the previous administrative image should be selected. You can add or remove components here (such as CircuitWorks, which was added in SolidWorks 2008 Service Pack 4.0).
Verify the SolidNetwork License (SNL) Server information:
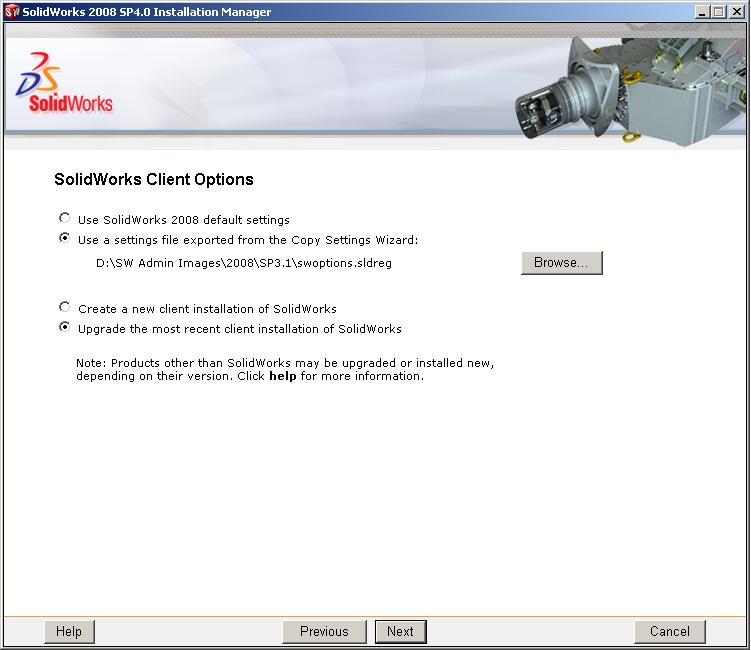
Set your SolidWorks client options to read the settings file used in the previous image. This file will be automatically copied to the new image folder. You also want to change the option from "Create a new client installation of SolidWorks" to "Upgrade the most recent client installation of SolidWorks".
Here, you can choose to use your existing standard library files or to install new ones. For applying a service pack, it shouldn’t be a big issue, but if you are installing a new version of SolidWorks, you should make a backup (just in case) or install to a different location if you still have the earlier version running (i.e., as in testing the new version).
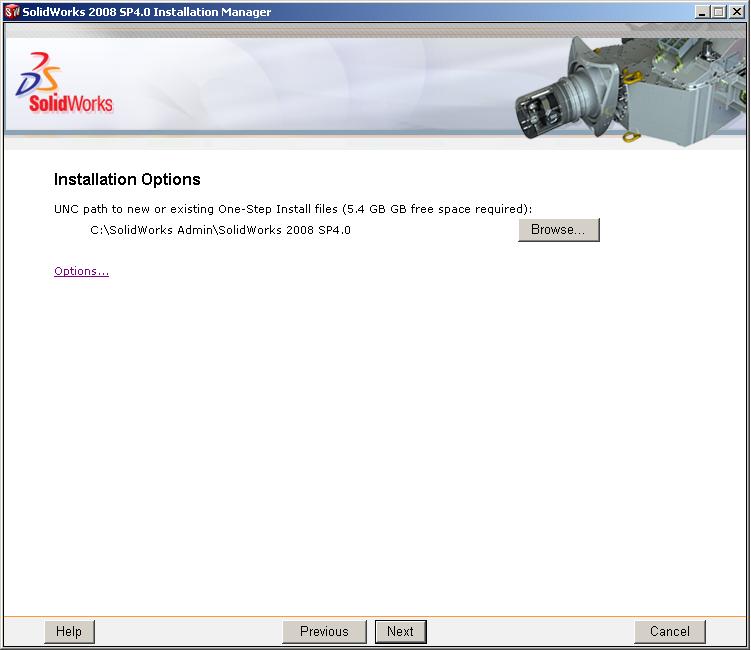
For upgrading the administrative image, choose the UNC path to the original share (that was changed to "SW2008SPX.X" up above. This will let the SLDIM know where to find the previous image, and it will copy any files it can into the new image folder to reduce the service pack download.
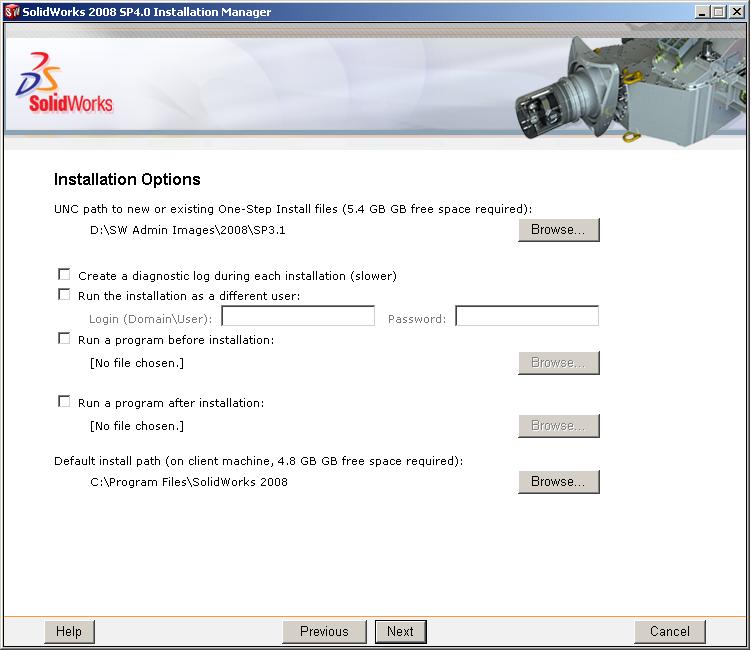
Clicking the "Options…" link in the dialogue (shown above) will expand to show the pre- and post-install options, as well as the option for the default SolidWorks install path.
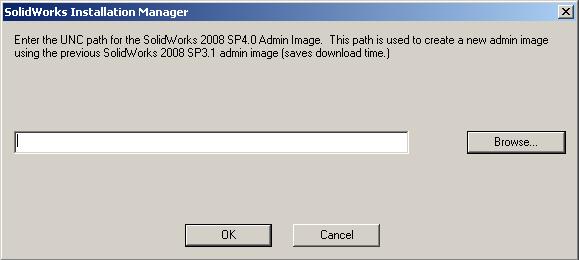
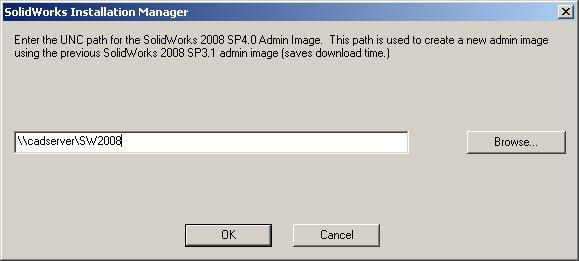
When you click "Next", the SLDIM will then prompt you for the UNC path of the new administrative image. Choose the original "SW2008" share path that now points to the new service pack image folder.
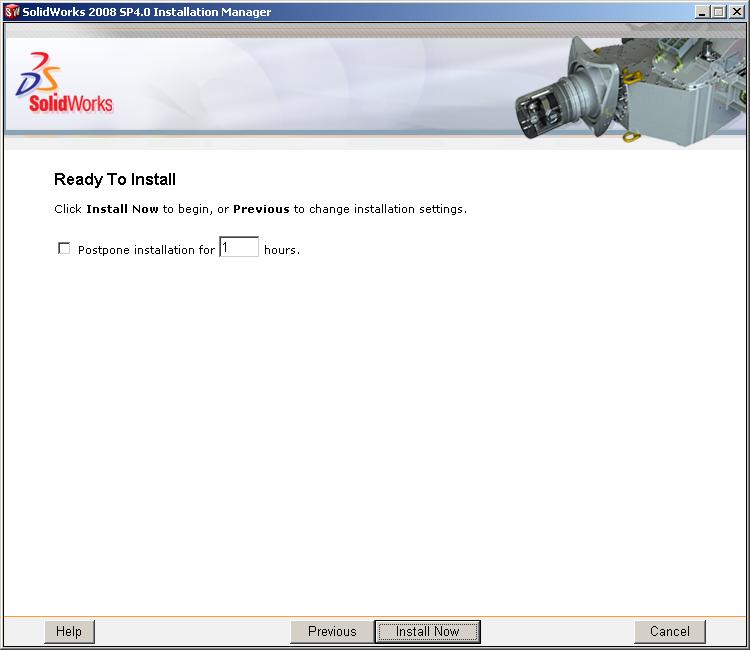
Choose whether to postpone installation after downloading, and click "Install Now":
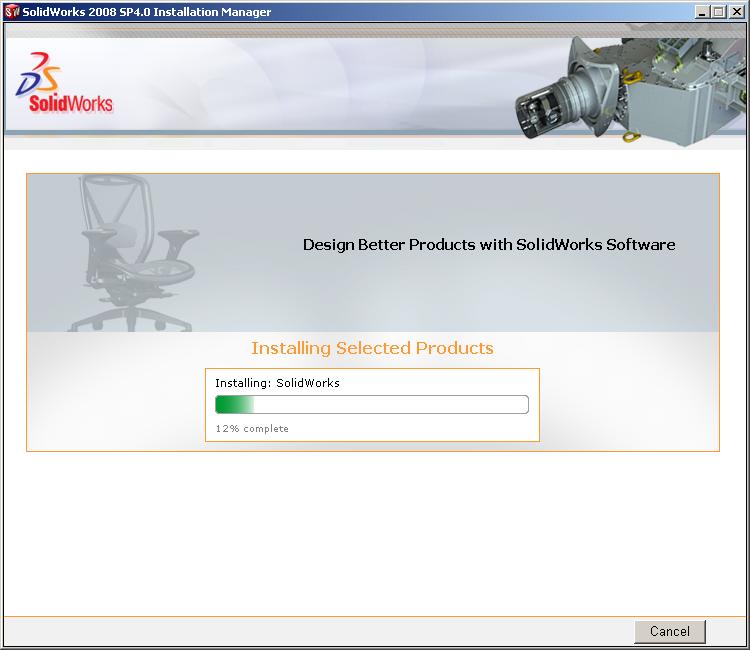
And wait and wait… It shouldn’t take as long as the original administrative image if you shared the previous image location and pointed the SLDIM to that UNC path.
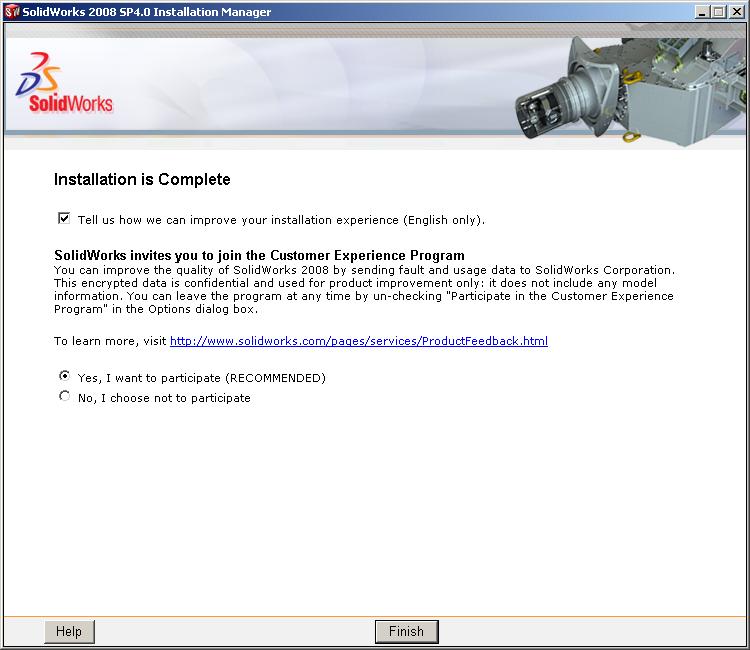
After the administrative image is created, you are presented with the final dialogue. You can choose to give SolidWorks suggestions on improving the installation experience and whether you wish to participate in the Customer Experience Program.
And your new service pack image is ready! Just change the permissions to allow your users read access, and the next time they start SolidWorks, their client installs will automatically be upgraded to the new service pack.
If for some reason the new service pack causes major issues, rolling back is as simple as changing the "SW2008" share back to the previous service pack folder. Your user’s installs will be automatically rolled back the next time SolidWorks is started.
I hope this series has given some insight into just how easy it is to manage SolidWorks Administrative Images with the SolidWorks License Manager. Leave a comment to share your experiences!





Pingback: SolidWorks Administrative Install Images & SLDIM - Part 2 | CADFanatic()